First steps
Once you’ve created and activated your WorkSked account, you can begin creating schedules right away but you will benefit by adding some important details first.
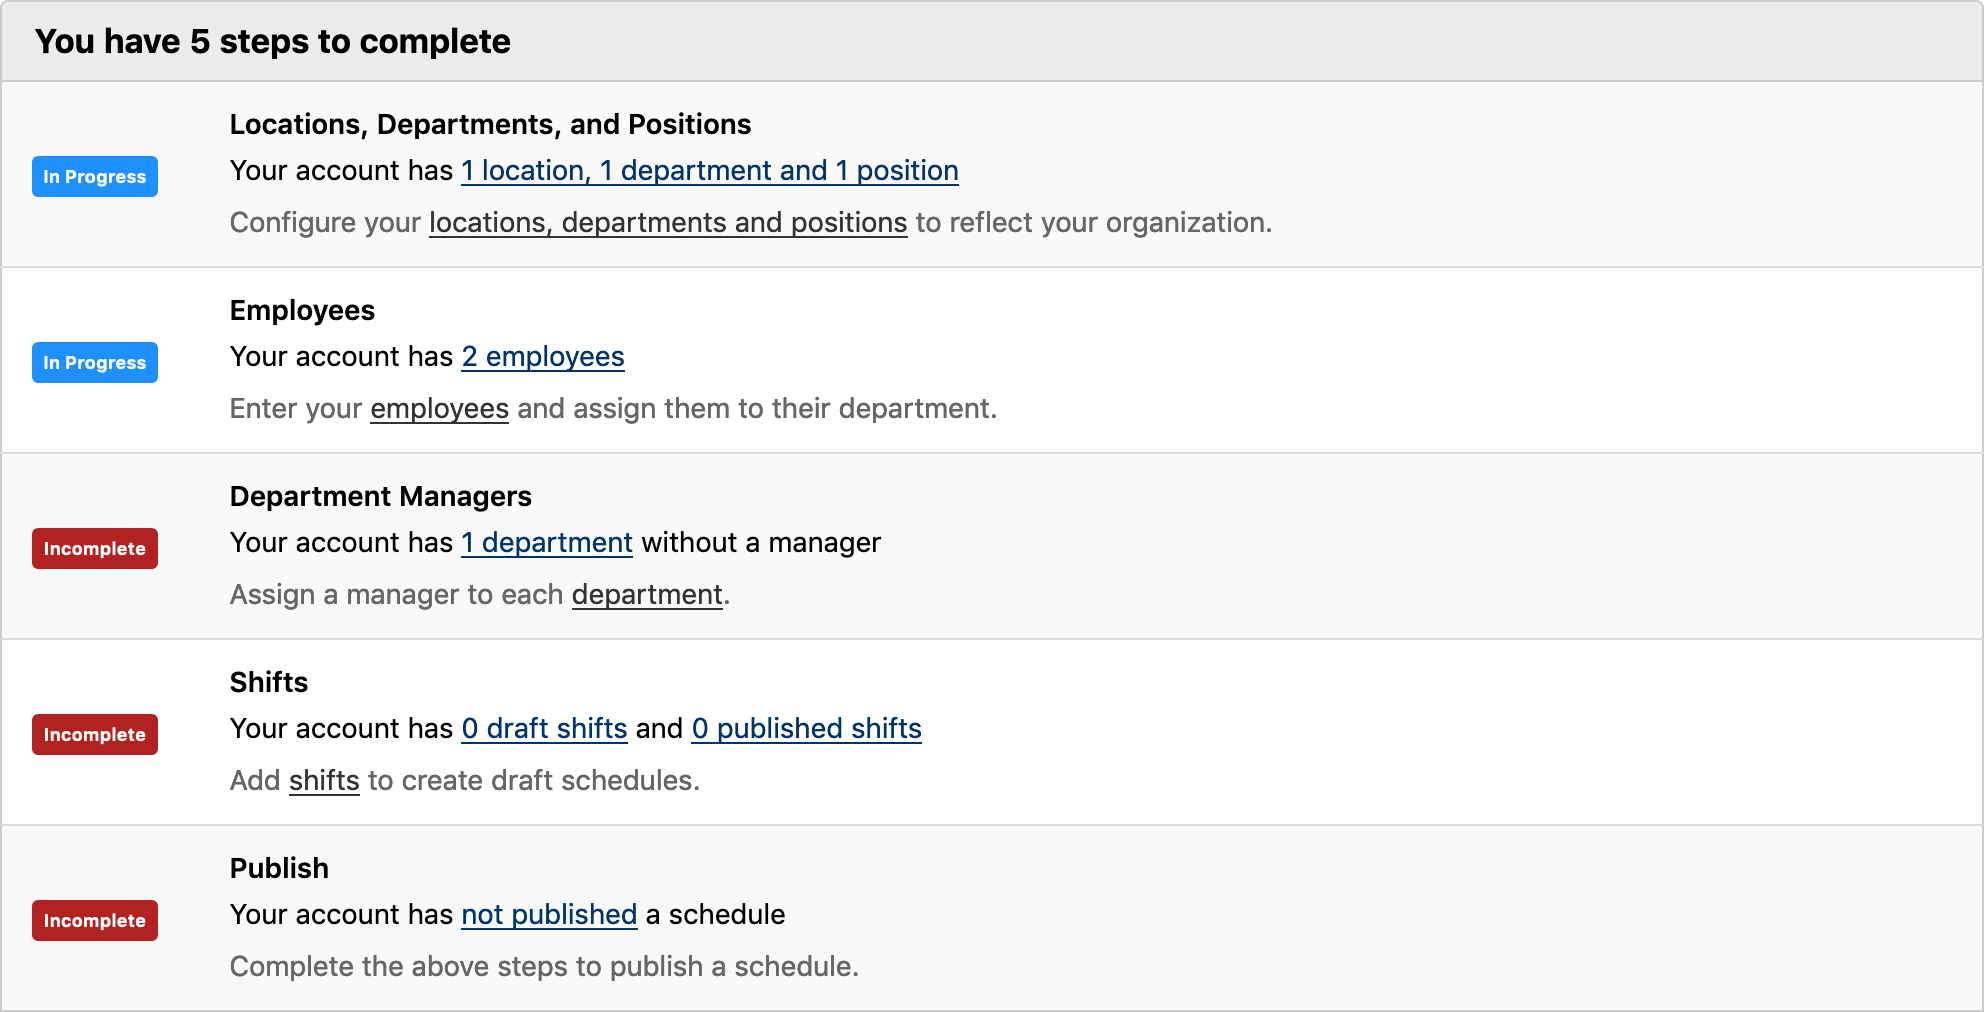
Check the onboarding section on the Dashboard page when you first sign in (see above). Everything required to get started is listed in this section.
Be advised that we automatically created your first location, department, and position. You need to properly configure everything in the Locations, Departments, and Positions section to match your business. Some suggestions/examples for each:
- Location — Initially named My Location, we suggest using the store or street name.
- Department — Initially named My Department, we suggest using something appropriate for your business, e.g. cashiers, floor personnel, etc. This is also a good time to assign a department manager. You most likely have multiple departments per location, go ahead and define them as well.
- Positions — Initially named My Position, we suggest using something appropriate for your department, e.g. cashier, clerk, receiver, etc. You most likely have multiple positions per department, go ahead and define those as well.
That’s it! Go forth and create schedules.